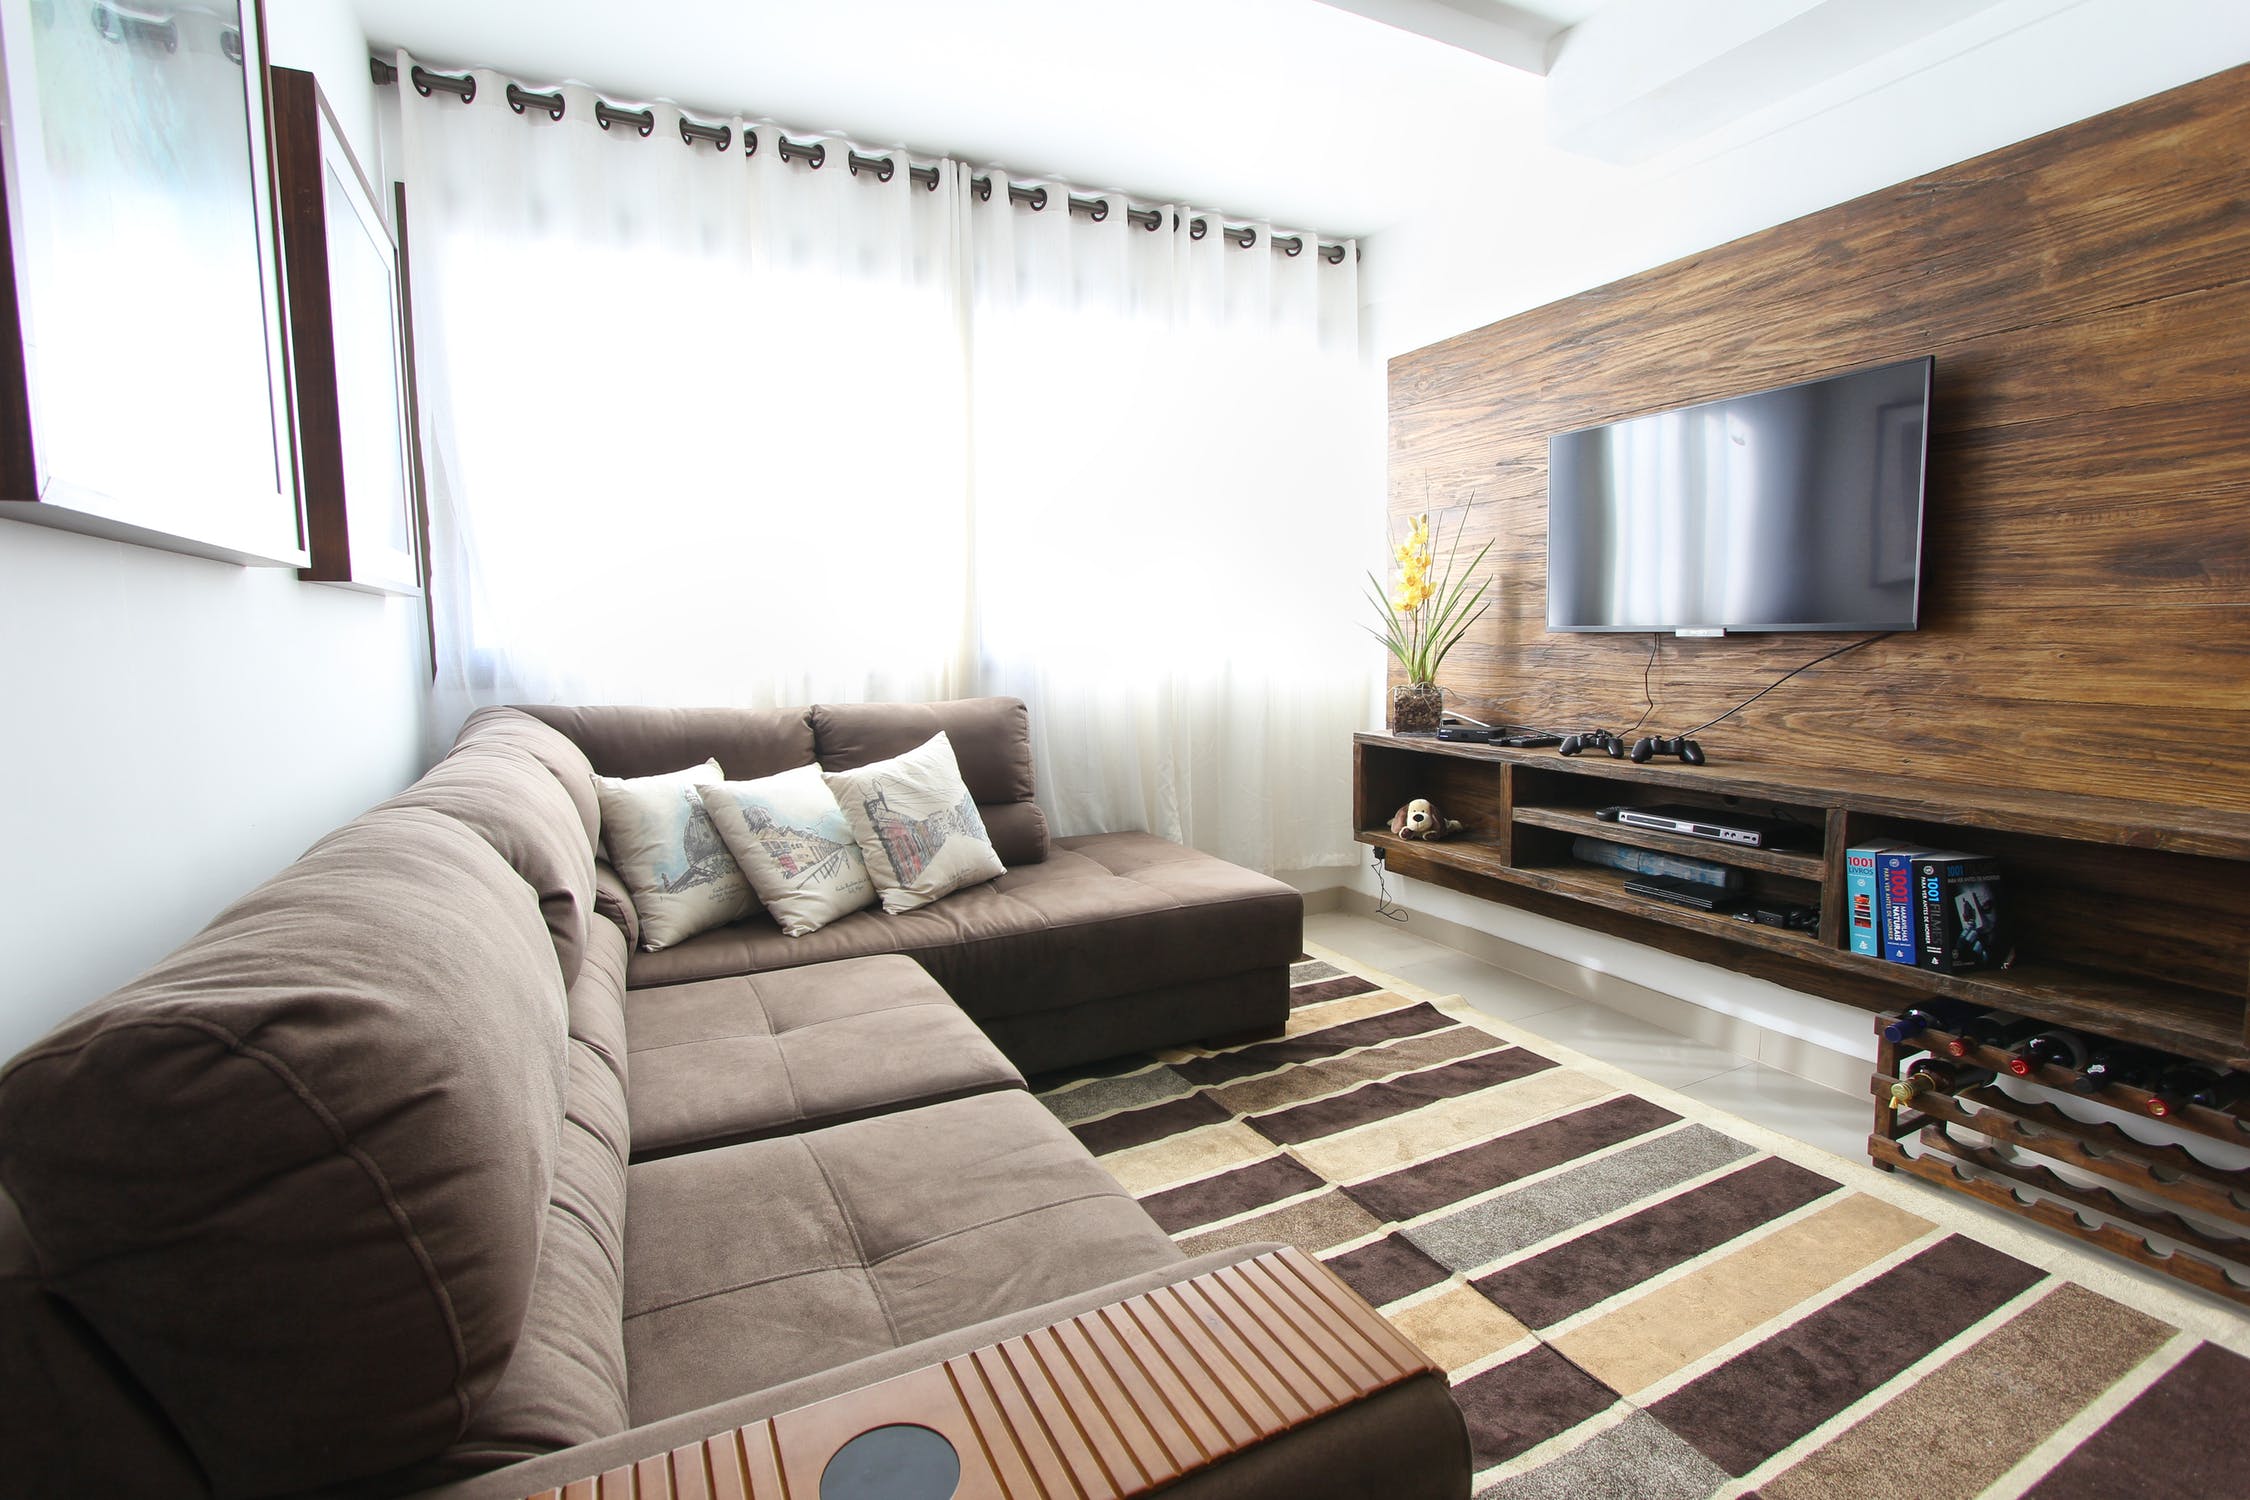
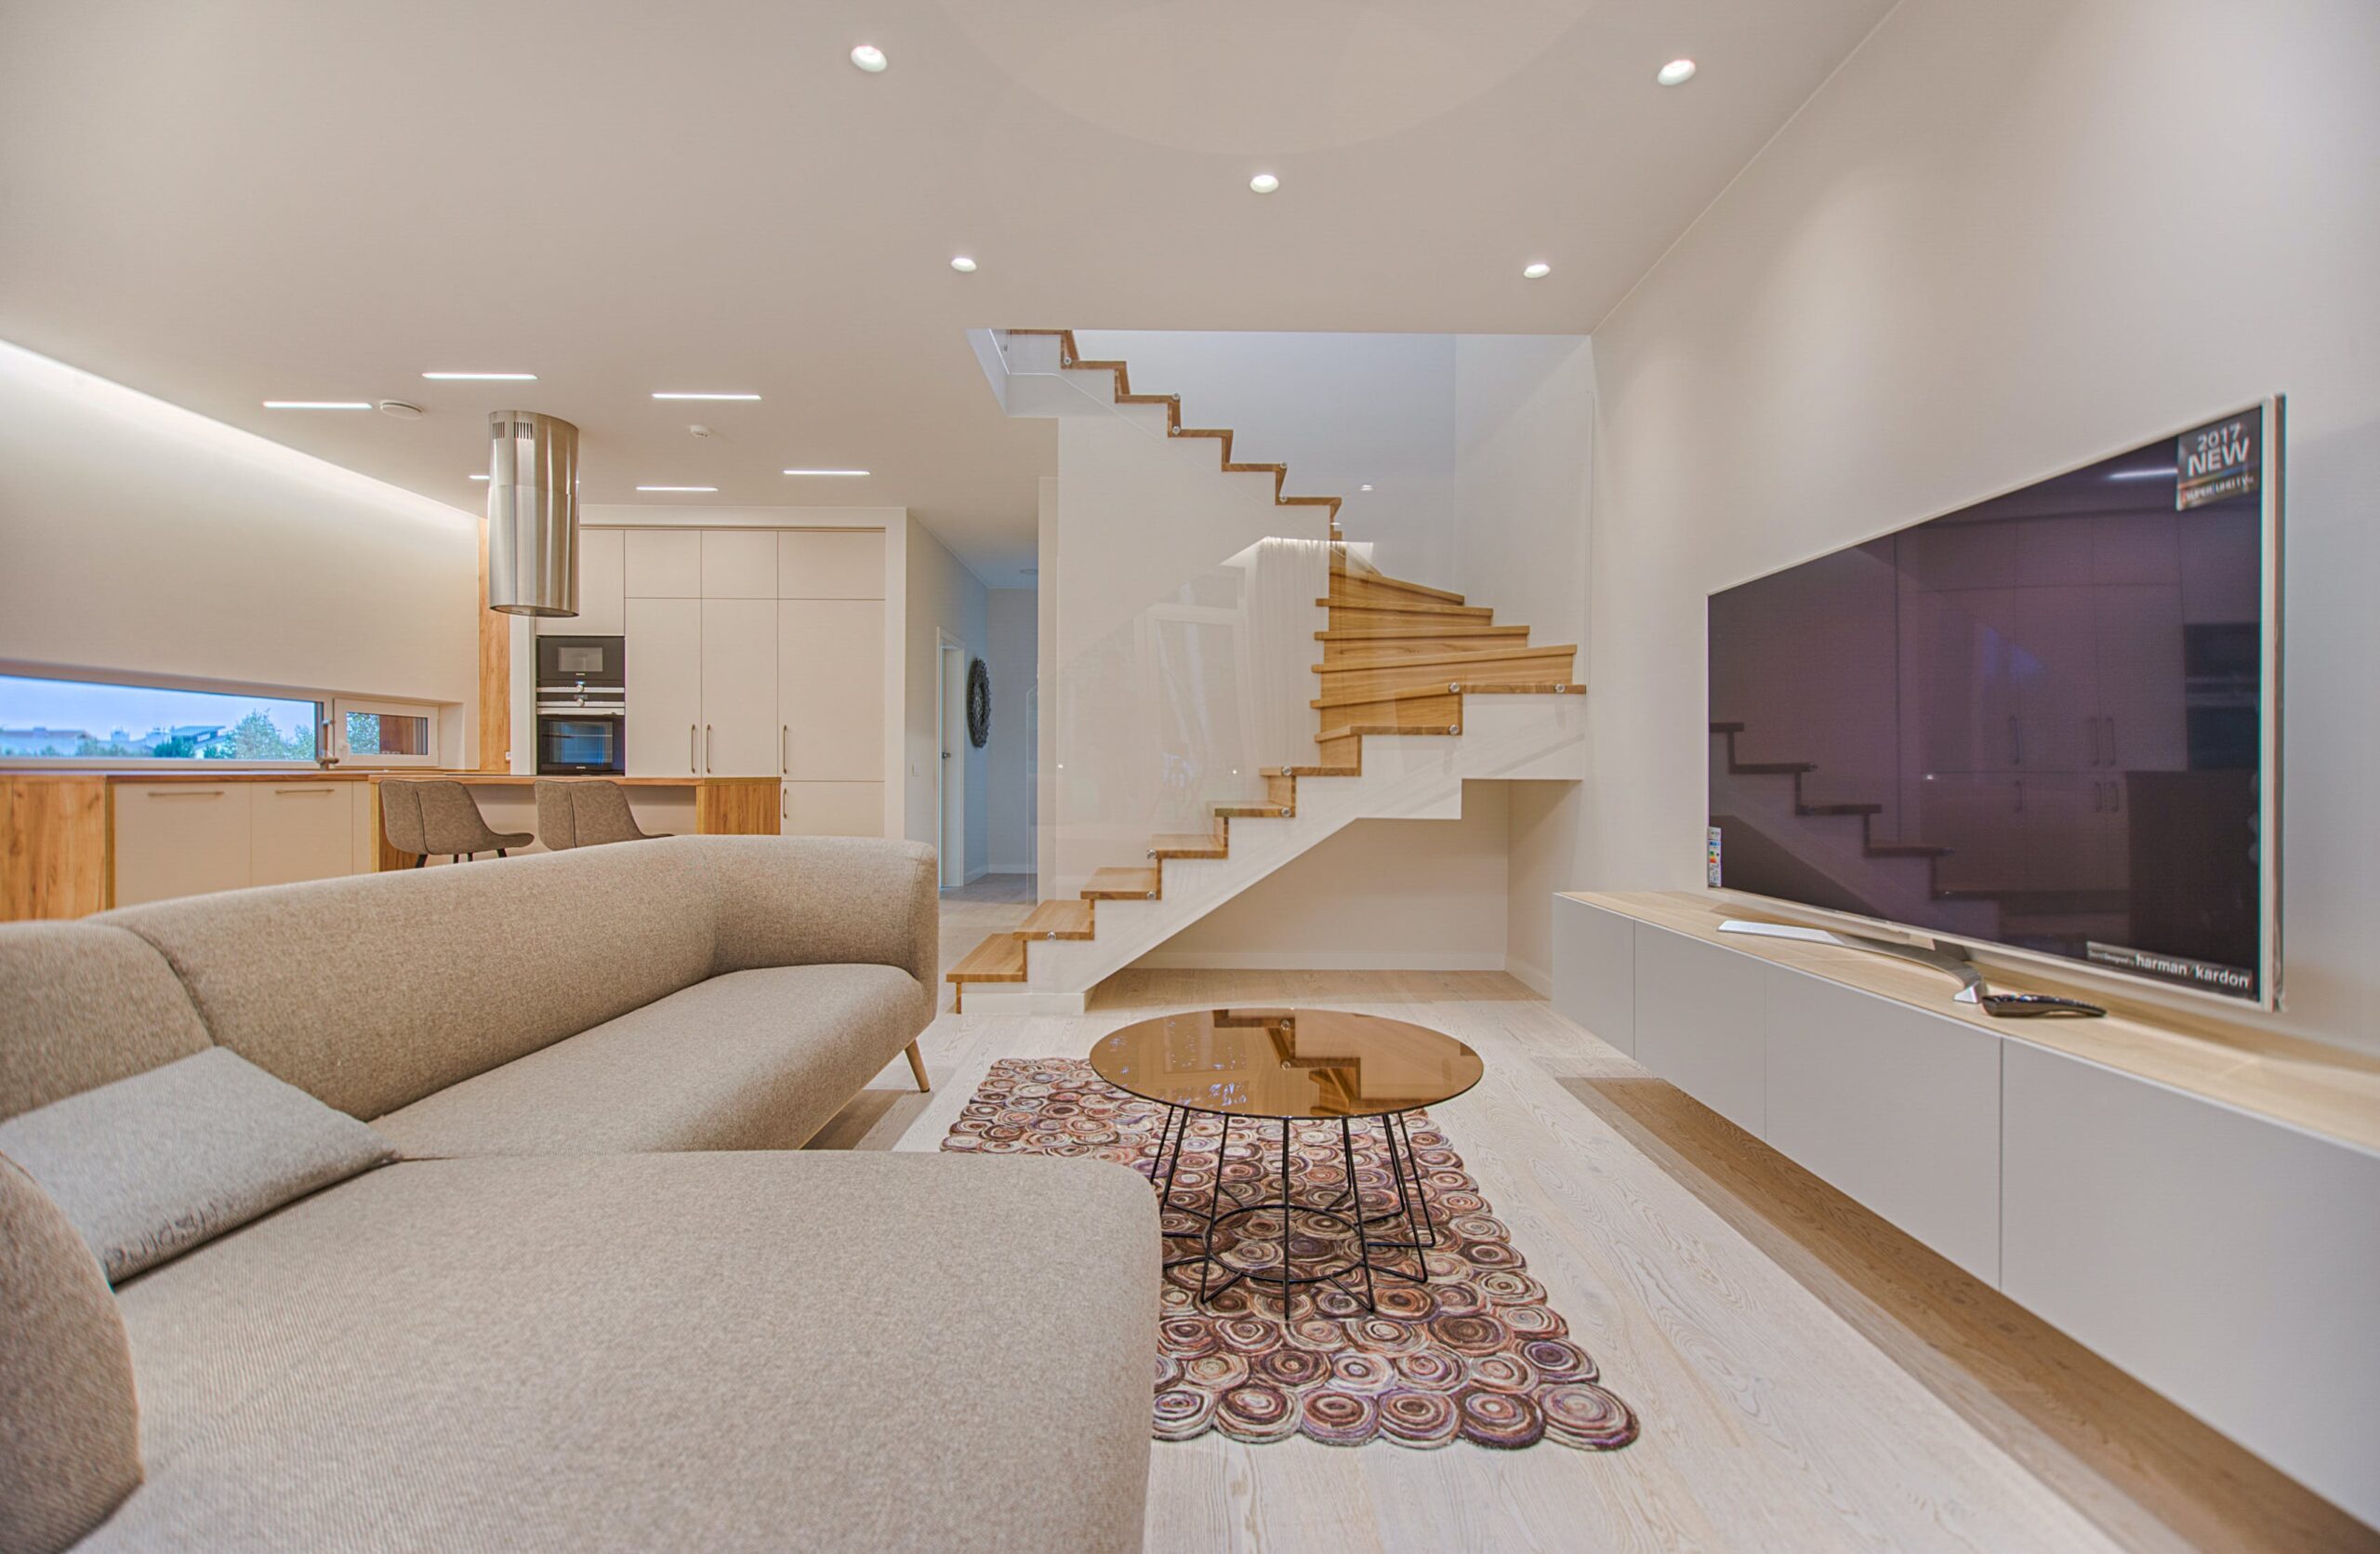
Nothing beats the viewing experience that one can get from a home theater system. One may choose to view a movie or sports game using his smartphone or tablet. However, the joy, excitement, and thrill of what is being watched become elevated when viewed from one’s own home theater system. You have to consider installing a home theater system if you’re looking to experience that crisp and larger than life visuals. Not to mention the realistic surround sound that will fill the four corners of your entertainment room. But if you’re presenting to a larger crowd, you need more advanced audio visual equipment to hook the attention of the audience.
If you’re ready to set up one but are not certain how to do it, the following will serve as a useful guide.
1. Position your speakers
A home theater system not only gives you that cinema-like experience, but it also brings to your home an immersive movie-watching experience. No matter what Fios TV plan options you choose you will be guaranteed an unparalleled entertainment system. The first thing you should take care of is positioning your speakers.
Proper positioning of speakers is important to be able to achieve the best sound quality and surround experience. Look for abbreviations like FL, which tells you that the speaker must be placed Front Left. You have to know where to position each speaker to be able to achieve this. Once you have made sure that all the speakers are in their right positions, you can proceed with connecting them to the receiver.
2. Connect the speakers to the receiver unit
Check your speaker connections and see if they have dedicated speaker connectors or a clip-on. If it makes use of a clip-on you will notice that it has a naked wire which you can insert into each speaker clips. For speaker wires, look for the hardened and naked ends. If you cannot find these, you may just remove its sheath using a sharp blade. You may also use a wire stripper. These speaker connectors have labels or marks that indicate their corresponding speakers. Make sure each connector matches the right speaker. Any mismatch can damage your entire home theater system.
3. Set Up the Audio-in Interface
The entire set up of your audio-in interface will largely depend on the type of your audio-input source. This could be your DVD player, TV, or smart device. For television sets, you may have the option to connect the TV to an HDMI or a display port input. You may also connect it to a 3.5mm audio jack. If you are using a personal computer a 3.6mm jack, optical audio input or HDMI can be used to interface it. Note that you can interface in the same manner if you will be using Blu-Ray players, DVD, or VCRs. Smart devices may provide an option for a wireless interface.
4. Connect the Auxiliary Devices
Connecting with auxiliary devices will depend on compatibility. The options could be HDMI out, AV audio-out, optic audio-out, and 3.5mm audio-out. The video output can be fed into the TV screen using HDMI video out. It can also be connected via AV video out or Display Port video out. You have to define your user settings once you have connected the auxiliary devices. Then make the necessary adjustments based on your preferences regarding pitch, balance, and speaker volumes. These settings may also vary depending on your home theater model.
Have your pizza, popcorn, and some bottles of soft drinks ready now that you have installed your home theater system. Enjoy your favorite shows right at the comfort of your couch. You only live once, so it is high time you made the most out of life!


