
Exposing and cleaning brick walls can transform a room, infusing it with character and a sense of history that plaster or paint can sometimes conceal. Whether aiming to showcase an interior brick wall in a living area, bedroom, or kitchen, or simply to refresh the exterior facade of a home, the process of removing plaster to reveal the beautiful brickwork beneath is both a rewarding and challenging DIY project. This comprehensive guide explores the benefits, necessary tools, steps, and maintenance tips for exposing and cleaning brick walls, ensuring your project is a success from start to finish.
Why should you expose and clean your brick wall?
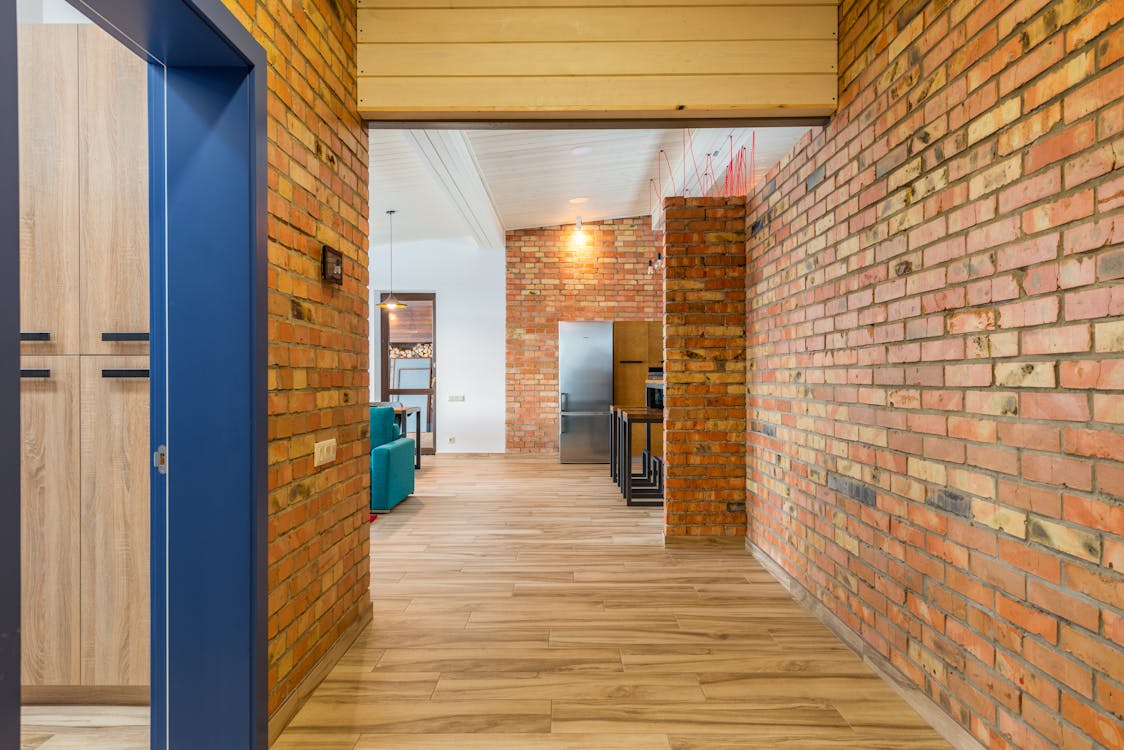
Benefits of exposed brick in interior design
Exposed brick walls offer a unique blend of rustic charm and urban chic, making them a highly sought-after feature in interior design. Unlike other design elements that may feel dated over time, brick walls have a timeless appeal, adding warmth and texture to any space. Moreover, they serve as a perfect contrast to modern furnishings, creating a dynamic and inviting environment. Beyond aesthetics, exposed brick is also known for its durability and ability to improve a room’s acoustics by dampening sound.
Considerations before removing plaster from brick walls
Before diving into a plaster removal project, it’s vital to consider a few key factors. First, the age and condition of the brickwork should be assessed to ensure that the underlying bricks are in a state that can be exposed. Older buildings, particularly those in the UK with historical significance, may have bricks that crumble when touched, rendering them unsuitable for exposure, this might be the tiome to opt for the professional brick cleaning help, as they will be ankle to restore the older walls with much higher degree of accuracy. Additionally, consider the room’s purpose and the dust and debris removal will generate, as this may influence your decision to start such a project.
Comments on the aesthetic impact of exposed brickwork
Exposed brickwork can significantly impact a room’s aesthetics, introducing an element of texture and colour variation that paint or wallpaper struggles to match. When considering exposing brick, think about the overall design theme of your home and whether the rustic appeal of brick complements it. It’s also worth noting how natural light affects the appearance of brick walls; in well-lit areas, the brick can become a stunning feature that anchors the room’s design.
What tools and materials are needed to remove plaster from brick walls?
Choosing the right chisel and hammer for plaster removal
The choice of chisel and hammer is crucial when removing plaster from brick walls. A sturdy masonry chisel and a heavy-duty hammer can make the task far less tedious. The chisel’s edge should be sharp yet durable enough to chip away at the plaster without causing damage to the brick underneath. For larger projects, a hammer drill with a chisel attachment can significantly speed up the process.
Essential safety gear for DIY brick exposure projects
Personal safety cannot be overstated when undertaking a DIY project that involves removing plaster. Essential safety gear includes heavy-duty gloves to protect your hands from sharp edges and debris, safety goggles to shield your eyes from dust, and a dust mask or respirator to prevent inhalation of fine particles. Additionally, wearing long sleeves and pants can protect your skin from abrasive materials.
Supplementary tools to ease the plaster removal process
Alongside the hammer and chisel, several supplementary tools can ease the plaster removal process. A wire brush is invaluable for cleaning dust and debris from the brick surface, while a stiff putty knife can help scrape away smaller plaster bits. For particularly stubborn areas, a grinder with a diamond cup wheel may be necessary, though it’s important to use such power tools with care to avoid damaging the brickwork beneath.
How to safely remove plaster to expose brick
Step-by-step description of the plaster removal technique
The plaster removal process involves several careful steps to avoid damaging the brick underneath. Start by using your chisel and hammer to gently chip away at the plaster’s edges, working in small sections. Once a portion of plaster is loose, use the hammer’s flat side to carefully detach it from the wall. Continue this process across the wall, being mindful not to apply too much force in any single area. A YouTube tutorial or online guide may also offer visual aids and tips.
Tips to avoid damaging the brickwork underneath
To avoid damaging the brickwork, always work at a gentle angle, never directly into the brick. Start at the plaster’s edges where it’s likely to be more brittle and work inward. If you encounter a particularly stubborn section, dampen it slightly with water to soften it before attempting to remove it again. Remember, patience is key; rushing the process can lead to chips or cracks in the bricks, compromising the overall look of your exposed wall.
Dealing with especially stubborn or awful plaster sections
Stubborn plaster sections that don’t yield to chiseling may require more aggressive techniques. For these areas, a grinder with a diamond cutting wheel can be effective but use it with caution to avoid cutting too deeply into the mortar or brick. If plaster still remains after these efforts, applying a diluted solution of muriatic acid (carefully following the manufacturer’s instructions for use and safety) can help dissolve the remaining material without harming the brick.
Cleaning and treating your newly exposed brick wall
Dusting and initial cleaning tips for fresh exposed brick
Once the plaster is removed, the first step in cleaning your exposed brick wall is to remove loose dust and debris. A brush or a dry cloth can be used for initial dusting, followed by vacuuming with a brush attachment to suck up any residual dust. This step is crucial for preparing the surface for deeper cleaning.
Using acid and other solutions to clean the brickwork further
After dusting, a deeper clean may be necessary to tackle stains or residual plaster haze. A diluted acid solution, such as muriatic acid or vinegar, can be used to gently dissolve stubborn materials. Apply the solution with care using a sponge or brush, rinse thoroughly with water, and let the brick dry completely. It is critical to use protective gear during this process to avoid skin or eye irritation.
Sealing and protecting your exposed brick
To preserve the look and integrity of your exposed brick wall, sealing is recommended. A sealant can protect the brick and mortar from moisture and further wear while highlighting the brick’s natural beauty. Choose a sealant appropriate for the type of brick and the wall’s location (indoor or outdoor) and apply according to the manufacturer’s instructions for the best results.
Maintenance and care for exposed brick walls
How to keep your exposed brick clean over time
Maintaining the appearance of an exposed brick wall involves regular cleaning to remove dust and debris. Soft brushing or vacuuming can effectively minimize dust buildup, and spot cleaning with a mild detergent can address any new stains or marks. It is important to tackle any moisture issues promptly to prevent damage to the brick and mortar.
Addressing common problems with exposed brick walls
Common issues with exposed brick include crumbling mortar, efflorescence (a white powdery substance that can appear on the surface), and moisture damage. Crumbling mortar can be repaired by carefully re-pointing the affected areas, while efflorescence can typically be removed with a brush or mild acid wash. Addressing the root cause of moisture ingress is crucial in preventing future damage.
The chapter on refreshing and revitalizing old exposed brickwork
Even well-maintained brick walls can show signs of age and may require a refresh. Gentle cleaning, careful repair of any mortar damage, and a fresh application of sealant can revitalize the appearance of old brickwork, preserving its character and charm for years to come. Consider consulting a professional for significant repairs or when dealing with historic structures to ensure the preservation of the brick’s integrity.