
Painting a damaged hood after a car accident can be a daunting task, but with the right tools, knowledge, and patience, it can be done successfully. If you are short on time and don’t have the necessary experience and tools, we recommend that you search the Internet for a supplier of professionally pre-painted hoods and other car body painted parts.
In this article, we’ll provide you with a step-by-step guide to painting your car’s hood after an accident, so you can get your vehicle looking like new again.
Step 1: Gather your materials
Before you begin painting, it’s important to have all of the materials you’ll need. You’ll need the following items:
- Sandpaper (220-grit and 400-grit)
- Primer
- Paint
- Clearcoat
- Masking tape
- Paint gun or spray can
- Drop cloths or old newspapers
- Gloves and eye protection
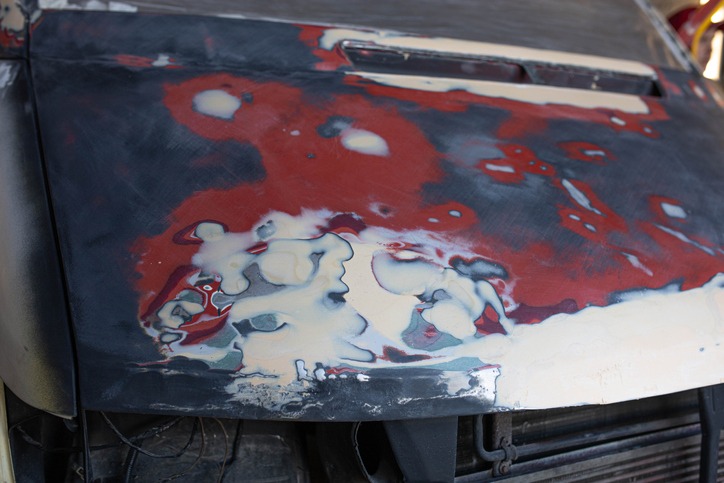
Step 2: Prepare the hood
Before you begin painting your auto body part, you’ll need to prepare the hood. This involves cleaning the hood thoroughly and sanding down any rough or uneven areas. Use the 220-grit sandpaper to remove any rust or loose paint and then follow up with the 400-grit sandpaper to smooth out the surface.
Step 3: Mask the surrounding area
Once the hood is clean and sanded, you’ll need to mask the surrounding area to protect it from overspray. Use masking tape and drop cloths or old newspapers to cover the windshield, fenders, and any other parts of the car you don’t want to get paint on.
Step 4: Apply primer
Next, you’ll need to apply primer to the hood. Primer is essential for preparing the surface for painting and helping the paint adhere to the hood. Be sure to follow the manufacturer’s instructions for application and allow the primer to dry completely before moving on to the next step.
Step 5: Paint the hood
After the primer has dried, it’s time to paint the hood. You can use a paint gun or spray can, depending on your preference. If you’re using a paint gun, make sure to adjust the pressure and spray pattern to match the recommended settings for the type of paint you’re using. If you’re using a spray can, be sure to apply the paint evenly and in thin, light coats, allowing each coat to dry before applying the next.
Step 6: Apply clearcoat
Once the paint has dried, it’s time to apply clearcoat. Clearcoat provides protection for the paint and helps to give it a glossy, smooth finish. Again, be sure to follow the manufacturer’s instructions for application and allow the clearcoat to dry completely before removing the masking tape and drop cloths.
Step 7: Clean up and enjoy!
Once the clearcoat has dried, you can remove the masking tape and drop cloths and admire your work! Be sure to clean up your work area, including your paint gun or spray can, sandpaper, and any other materials you used.
In conclusion, painting a damaged hood after a car accident can be a challenging task, but with the right tools, knowledge, and patience, you can achieve a professional-looking result. Just be sure to take your time, follow the steps carefully, and most importantly, have fun!
For more information about pre-painted hoods click here: https://paintedautoparts.com/products/hoods.html