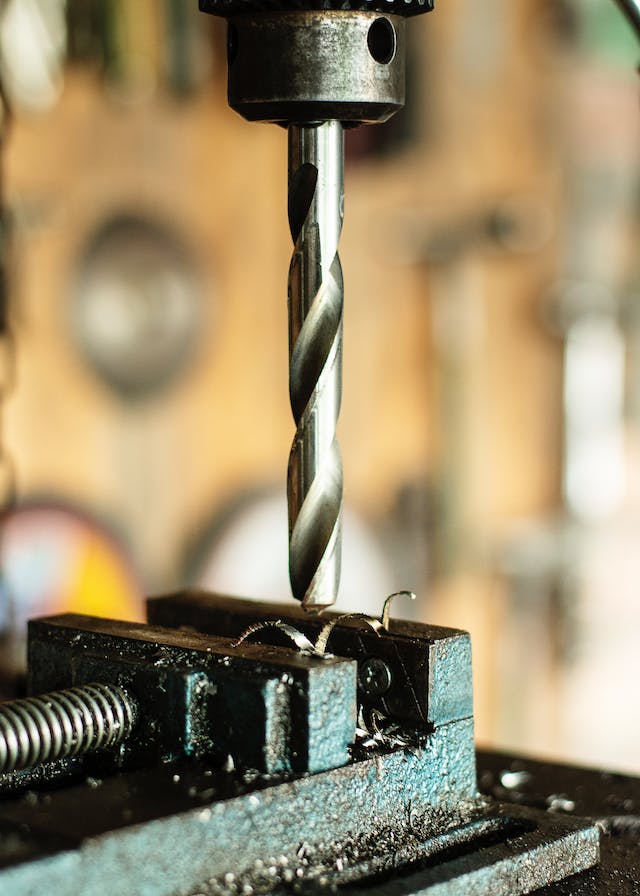
Drill controls vary from one drill to the next even though some functions remain almost similar. Read the following instructions on how to change belt speed on a drill press. You can also read the drills manual to adjust the wheel speed.
Changing the spindle speed of a drill press requires that you physically make adjustments on the belts running between the pulleys. For illustration purposes, we will use a sell press with three running on two belts. The speed from the pulley is approximately 540, and the intention is to make it to 1,840.
You can purchase any cheap drill press to help you manage the necessary drilling activities at home or work. When working with different materials, there may be a need to adjust the drill’s speed, as you desire. The bottom line is rigid materials need lower drilling speeds and vice versa for light materials.
Here is how to change the belt speed on your drill press. Also you can visit this article on the best floor drill press for metal if you want to win.
Step 1: Disconnect the drill from the power
Unplugging the drill from the power plug to ensure that the drill cannot injure you when accidentally turned on. Please note that you will be dealing with the drill gears, leaving no chance by unplugging the drill.
Step 2: Access the belt panel
The panel holds the belt and accessing it is through flipping it to show the pulleys
Step 3: Open the locking screws
Loosen the two locking screws on either side of the drill. Opening the casing lets you move the motor. The screws are located under the panel on each side.
Step 4: Pulling the motor lever
Bring the pulleys closer to you and with each other by pulling the motor lever. Observe the differences when the belts are loosened as opposed to being tight.
Step 5: Pull the belt to the desired location for speed
To adjust the speed from default 540 to the desired 1,840, you must move both belts position. Push the left belt to the second position from the bottom, and the right belt changes to the bottom position.
Step 6: Takes the first belt off.
The top belt should be the first one you need to remove. In our case, it is the one on the left side. Lift the pulley’s belt from where you see the size of the pulley decreases from down upwards. Be cautious when lifting the belt as you rotate the pulley; keep your fingers far from the belt path to minimize hand injuries. After loosening the belt, move it away from the path, so it does not create a hindrance when removing the right belt.
Step 7: Removing the second belt
The same process identifies the pulley set where the pulleys seem to decrease in size from down to top. After loosening the belt, move it out of the way.
Step 8: Insert the first belt
In our case, the left belt moves to the bottom since we are increasing to a speed of 1,840. Place this belt correctly, where the pulley set to increase from base to top. On the side of the pulleys, position the belt correctly.
Step 9: Insert the second belt
The right belt should be on the second row from the bottom because the speed is changing. Insert the belt at the point where pulleys increase in size from down to top. On the other end of the belt, insert the pulley correctly. Verify the belts positions.
Step 10: Push the motor back
Pull the motor level bar back to its original position, and you will notice how tight the belt is
Step 11: Lock the screws
Place the drill back in place by closing all the screws on either side.
Step 12: Close the belt panel and test the drill.
After closing the belt access, plug the drill into power and perform a test run.
Final word
Once you are done with the changing speed of your drill, the next easy thing to do is confirm the speed. When unsure of the changes you are about to make on your drill, use the user manual to make the recommended changes. In case you have additional notes, kindly share the ideas below.

